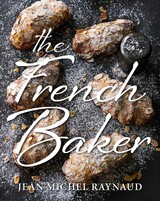
Cook the Books – The French Baker
Photography by David Parker .
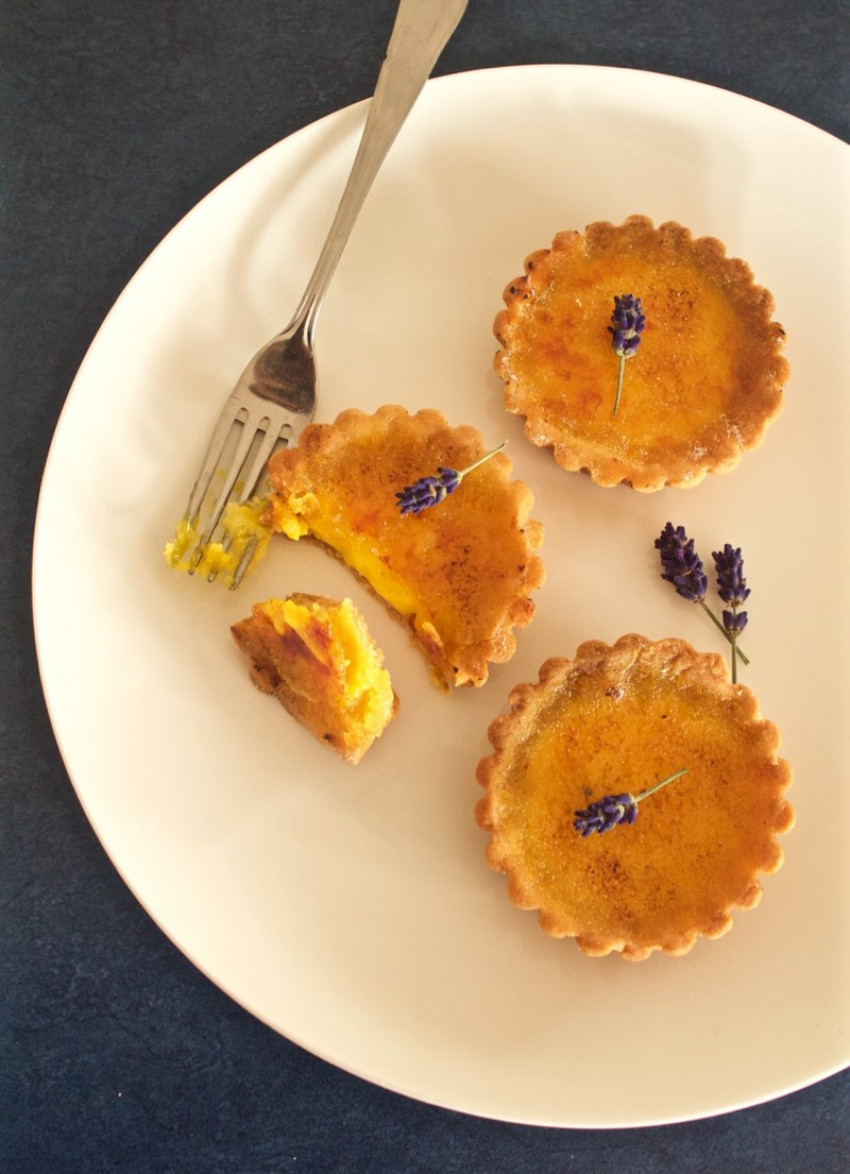
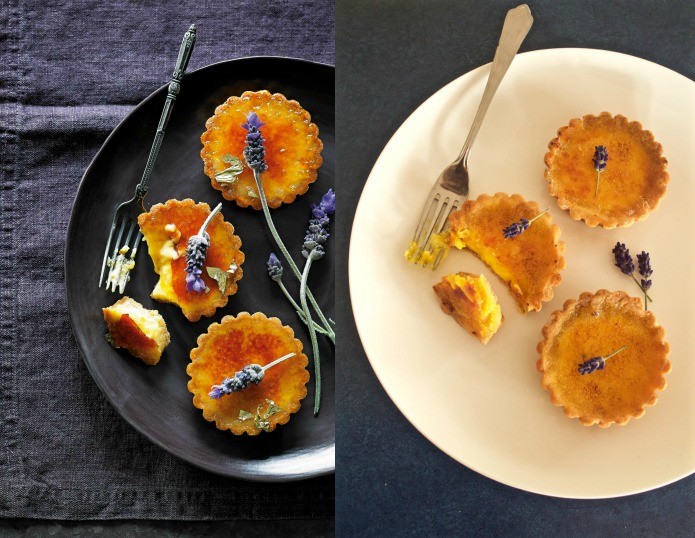
Looks can be deceiving, or so David Parker learned in this week's seemingly simple recipe challenge: Lavender Creme Brûlée Tarts from Jean Michel Raynaud's cookbook, The French Baker.
Read the original recipe from The French Baker here.
By the age of 20, Jean Michel Raynaud was head pastry chef at a three Michelin-starred restaurant in France. By the age of 20, I could bake a pretty nice brownie in my parents' kitchen, though not without the odd failed attempt.
Currently residing in Australia, Jean Michel is now owner and head chef of La Renaissance cafe in The Rocks, Sydney. In his first cookbook The French Baker, 30 years of baking experience is consolidated alongside some of his favourite recipes. While I don't have any great desire to be a Michelin-starred chef, I hoped this book would improve my baking in general, transcending my humble (yet now perfect) brownie.
I settled on the Lavender Crème Brûlée Tarts as my recipe challenge, with Jean Michel there to metaphorically hold my hand, what could go wrong?
I couldn't find lavender essence anywhere, but thankfully the internet exists, and it's full of people with lifestyle blogs chomping at the bit to tell me how to make my own. Essentially, you leave lavender flowers in vodka for a while, and hey presto. I guiltily asked for “the smallest, cheapest bottle of vodka” from a liquor store. I felt like I had to quantify “it's not for drinking...” at which the sales assistant smiled, then handed me a $10 bottle.
Apparently you should leave the lavender in the vodka to steep for two weeks; I didn't have two weeks but thought I'd see how strong the flavour was after one day.
The following morning I started making the shortbread pastry or pâte sablée. I flicked back to page 80 for the recipe. I'd realise later that this recipe is for 600 grams of pastry and I would need one and a half times that for the 900 grams in the tart recipe, but I was moving fast and was too distracted by Judging Amy to notice...we'll get to that later.
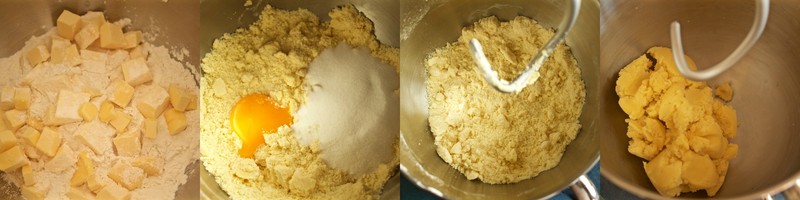 .
.The recipe gives you two options: to make the pastry by hand with lots of pretty and detailed photos of the process on a marble bench, or to make it with a stand mixer. And while there's something romantic about making pastry by hand, I didn't shell out a few hundred dollars on a stand mixer to be too romantic to use it. So, into the stand mixer went the butter and flour.
I then added the egg yolk and sugar, and with a bit more dough hook action the pastry came together, ready to be wrapped in plastic and placed in the fridge.
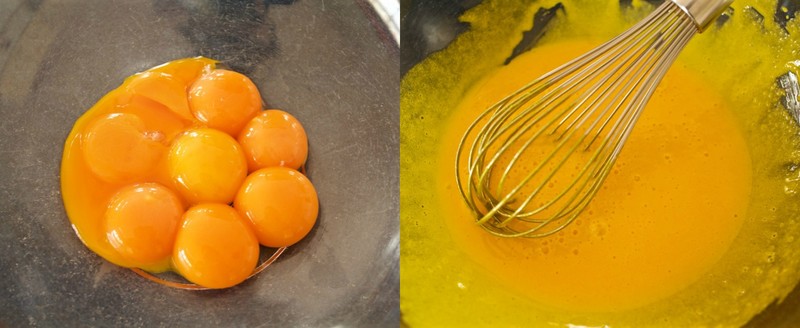
To make the filling, I separated 8 eggs and put the yolks in a heatproof bowl (I kept the whites to make meringue). Then I whisked in 100 grams of the caster sugar. According to the book if you don't start whisking immediately you can risk 'burning' the egg yolks which form little lumps, which has actually happened to me before and now I know why!
The sugar and yolks well-combined, I turned my attention to the most expensive ingredient in the recipe, the vanilla pods. I paid $14.49 for four pods. Why are they so expensive? I'm sure you could replace them with some good quality vanilla extract. I brought the milk and cream to a boil with the vanilla pods and seeds, then poured the just-boiled milk and cream into the egg yolks while whisking.
I sieved the custard into a jug with the vanilla pods. That went into the fridge for three hours to chill.
I pulled the pastry out of the fridge, broke it up and ran it through the stand mixer with the dough hook attached so it'd be softer and easier to work with. Then I rolled it out. The recipe says to use a 12cm cutter to cut the pastry for the 7.5cm tartlet tins.
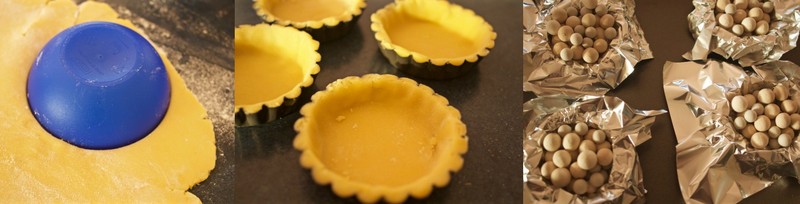
I only had four tartlet tins, but despite apparently not having made enough pastry for the recipe it seemed I had enough left over for a 25cm tart tin, so I lined that as well. I even checked I had rolled out the pastry to the correct thickness (cue looks of disbelief as I measure 4mm with a ruler). The tins then went into the fridge for 30 minutes to rest again.
After resting I lined the pastry cases with foil and ceramic pie weights, then blind baked the cases.
At this point I tasted a drop of the lavender essence. Yes, it tasted very strongly of lavender and of course, alcohol. Just in case it ruined the custard I poured a small amount of the custard into a bowl and added the lavender essence a drop at a time, tasting as I went. It only took a couple of drops before I thought the perfume of lavender was enough. I decided it was a success and added essence to the rest of the custard too.
I ignored the helpful instructions from the book to pour the runny custard into the tart cases while they were on a rack in the oven, and instead walked like a tightrope walker in slow motion from the bench to the oven, occasionally pausing to regain composure as custard came close to pouring over the top of the tart casings.
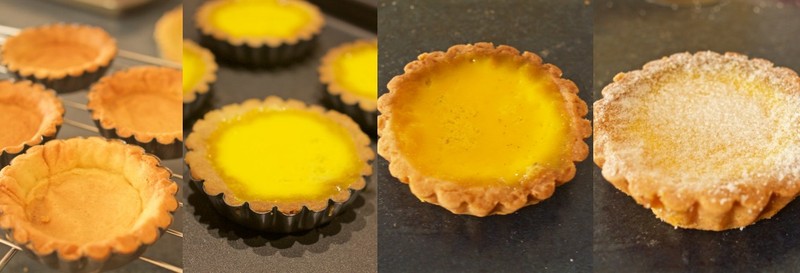
Turns out I had enough filling for the four tartlet casings and one large (not completely filled) tart. It took a while longer than the recipe specified for the custard to reach the correct consistency, I think I left the little tarts in for an extra ten minutes, and the large tart for an extra 20.
Next, they needed to sit in the fridge for at least another three hours. By this time I was heading out for the evening so I left them overnight. I pulled them out the following morning, sprinkled with the remaining caster sugar and then caramelised the sugar with a blowtorch. Apparently you could do this with the grill on your oven.
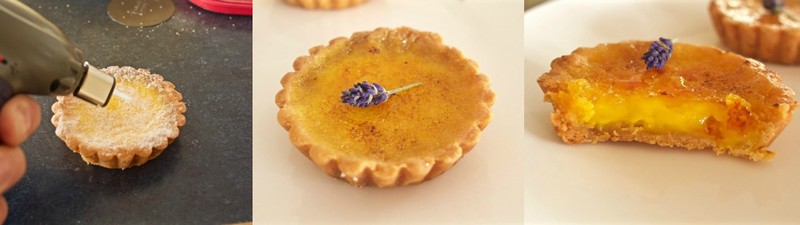
The pastry was very light, crisp on the outside and the custard had just softened on the inside. The custard was very soft, maybe a little too soft with the pastry; they could have done with a few more minutes in the oven.
I could taste the lavender but it was quite delicate. The pastry was a little salty for the crème brûlée, and the overall combination of textures was unusual with the crunchy outer/soft inner pastry, the very soft crème brûlée and the hard caramel top. By my third I'd grown accustomed to the texture though...it's a tough job but someone has to do it!
I will say that what seemed to be a simple recipe took up my whole day with various periods of resting. I could have been productive with this time, but mostly I used it to eat, clean dishes and watch more Judging Amy.
Related Content
latest issue:
Issue #114
Autumn has arrived, and with it, the latest issue of dish, jam-packed with recipes that will have you fizzing to get in the kitchen! With a long Easter lunch featuring perfectly pink, blushing roast leg of lamb and wildly decadent baked mashed potatoes with caramelised onions, to simply scrumptious chocolate treats and sensational seasonal baking this issue has you covered - we reckon the Hot Cross Buns are our best yet! Salads make way for soothing soups, pies, puddings and our cover star beef cheek ragù with spaghetti – a must-make dinner for family and friends. With over 60 recipes in our latest issue there’s plenty of inspiration to keep you busy – and well-fed! Don’t forget to share your dish dishes with our Facebook community.